Prepare One Portrait for Your Funeral Brochure and Poster
By FuneralPress Product Guides · 4 min read · Checked 09/10/2026
The quick answer
Upload a shared portrait in Family Collection, open the portrait studio, adjust the crop, rotation, brightness and contrast, then select “Use edited portrait”. Review and apply it to the linked drafts. Inspect each final crop because brochures, posters and banners use different layouts.
The portrait often appears on several funeral materials. Preparing one approved version helps the brochure and poster feel consistent, and saves you from adjusting the same picture repeatedly. Start with the family’s chosen photograph and keep the original file as well as your edited copy.
Choose the strongest original you have
Prefer the original camera image or scan over a screenshot of a WhatsApp message. Look for a clear face, natural expression and enough space around the head and shoulders for cropping. Ask the family to approve the photograph before you design around it; a sharper image is not always the portrait they want to remember.
If the picture has been forwarded several times, ask the person who took it for the original. Increasing the output size cannot recover detail that was never present. A photograph suitable for a small invitation may still be too soft when enlarged on a banner.
How to prepare the shared portrait
- Open Family Collection and upload the chosen picture under “Shared portrait”.
- Open the shared portrait studio from the portrait controls.
- Use “Rotate 90°” if the image orientation is wrong.
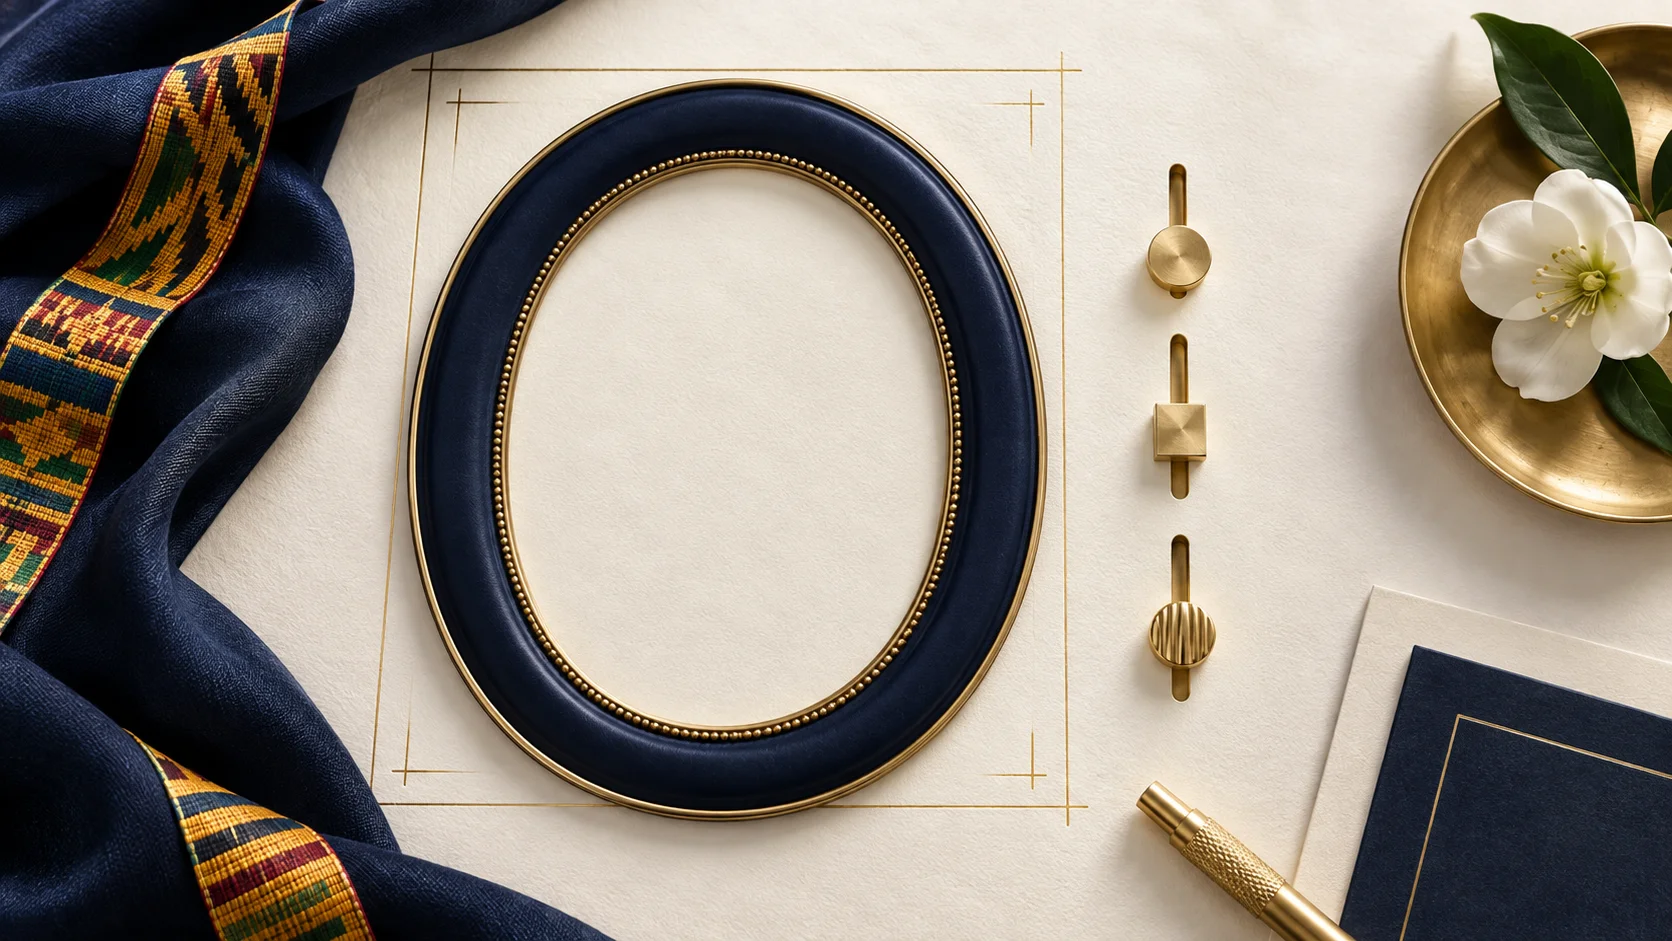
- Choose original proportions or the portrait 3:4 crop. Adjust crop zoom and horizontal and vertical position so the face has comfortable space.
- Make small brightness and contrast changes. Check that the face still looks natural.
- Select “Use edited portrait”, review the collection and apply the changes to the linked drafts.
What the print-quality message means
The studio shows the edited image’s pixel dimensions and an estimated DPI at 100 mm wide. That estimate describes that particular width; it does not certify the photograph for every printed size. A larger print spreads the same pixels over more space. Check the actual intended portrait width with your printer, especially for posters and banners.
For a simple example, an image that looks crisp as a small brochure portrait can look blurred when it fills a large banner. Use the highest-quality original available and inspect the downloaded file at a sensible viewing size before committing to a print run.
Keep the person recognisable
- Avoid a crop that cuts through the hair, chin or face.
- Leave room for the editor’s frame, which may crop differently from the studio.
- Use restrained adjustments rather than very bright highlights or heavy contrast.
- Inspect skin tones and clothing after each change.
- Ask a relative to compare the result with the original portrait.
The studio supports crop and tonal adjustments; it does not promise to reconstruct a damaged photograph, restore missing detail or produce a professionally retouched result. If the original is severely blurred or damaged, consider obtaining a better source or asking a photo-restoration professional to assess it.
If you prefer the original photograph
Use “Reset adjustments” to start over, or “Restore original portrait” to select the retained original. Each studio editing session starts from that original, so you do not have to keep editing an already-cropped copy. The adjustments run on your device; saving a project to cloud is a separate action that transfers project data to your account.
After applying the portrait, open all the designs you intend to download. Check the face, frame and surrounding text separately. A consistent source portrait is helpful, but the final layout remains the deciding check.
Common questions
Will one edited portrait fit every design perfectly?
The shared portrait can be applied to the linked drafts, but each layout may frame it differently. Check the crop in every editor before downloading.
Can the studio make a blurry image sharp?
Crop, rotation, brightness and contrast can improve presentation, but they cannot recover missing detail from a low-quality source. A better original is the most useful starting point.
Do portrait adjustments overwrite the retained original?
The studio retains the original as its editing source and provides an option to restore it. Keep your own original file too.